


OB BioShield Magnetic (For Warranty)
OB BioShield Magnetic (For Warranty)
 Trusted by 10,000+ families nationwide
 Free shipping across the United States
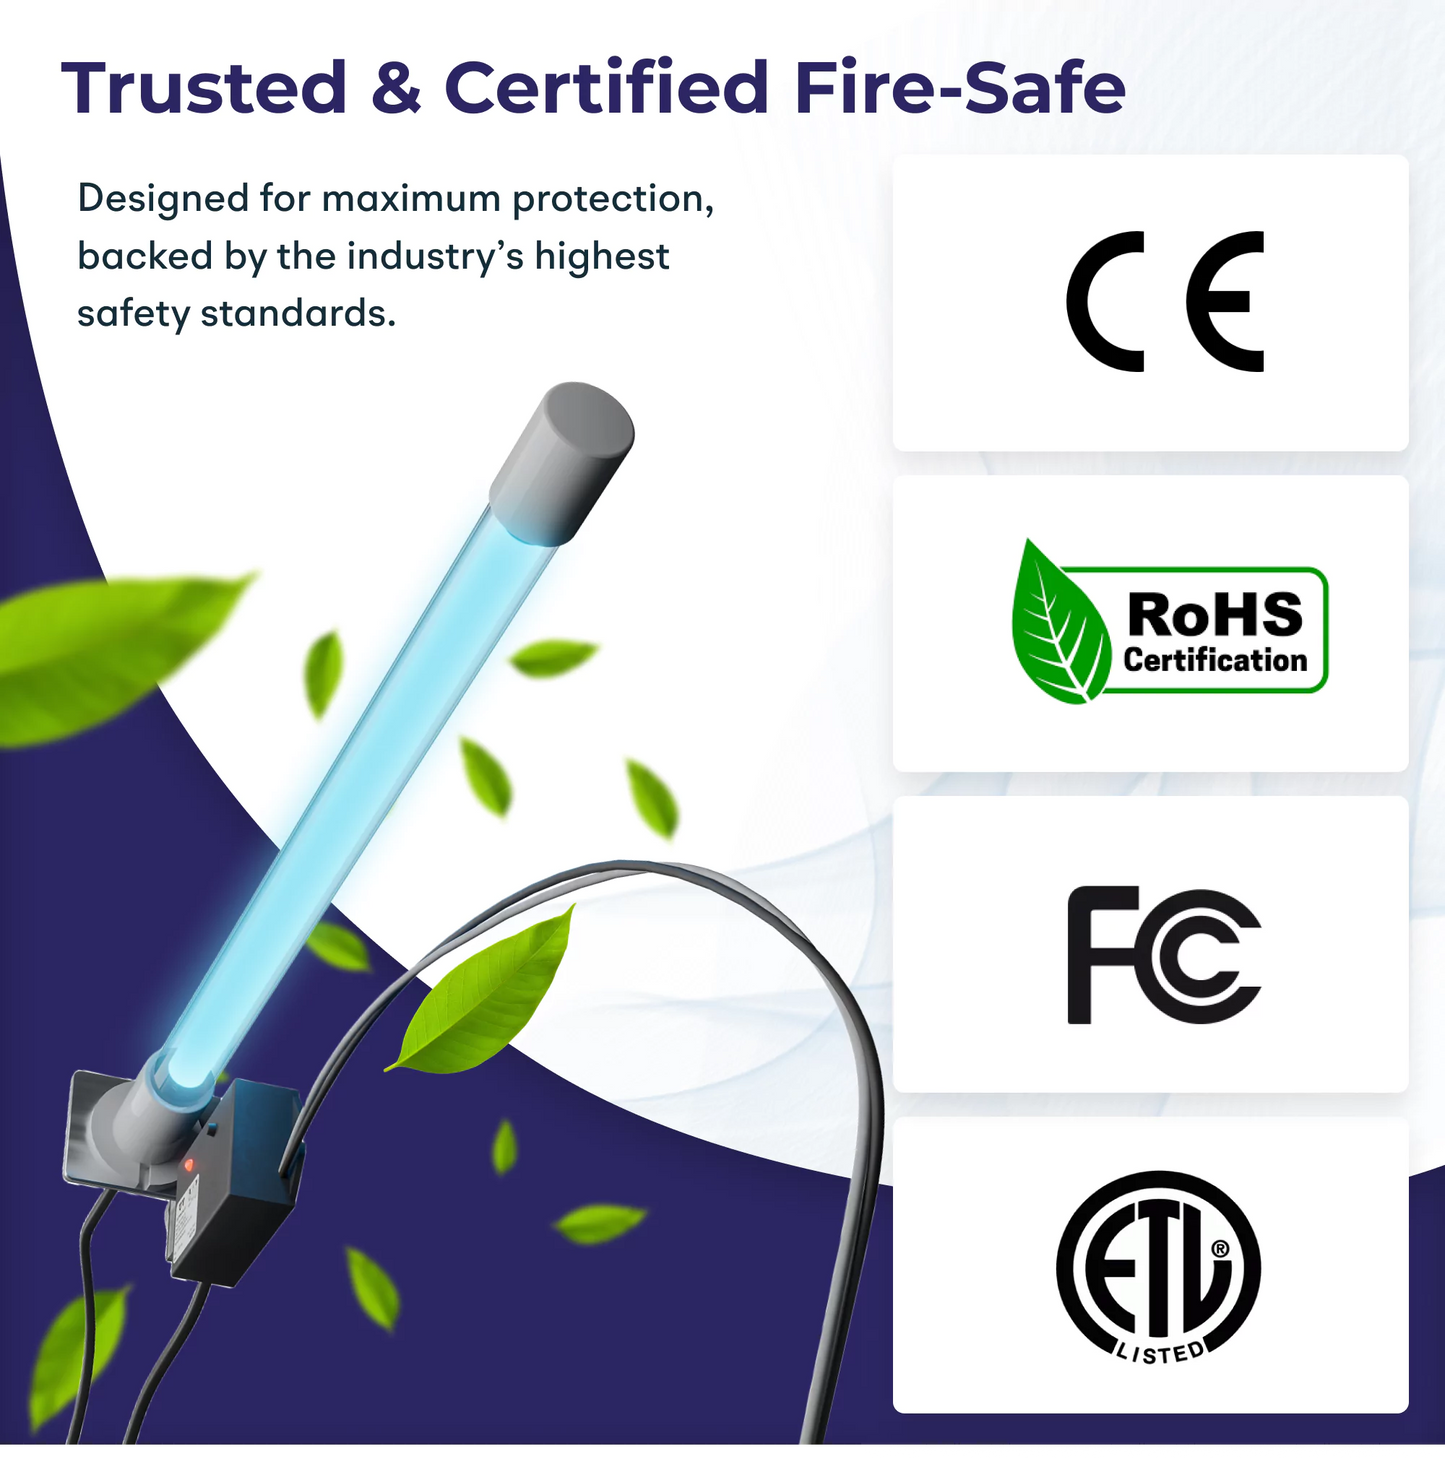
 Lifetime Warranty* (with the Guardian Club only) Free Returns (Within 90 Days) Certified Safe by CE, ETL**, RoHS, & FCC
 *1-Year Warranty on BioShieldUV Devices without a Guardian Club membership.
Couldn't load pickup availability


Is It Safe?
Yes. BioShieldUV™ is CE, FCC, and RoHS certified and has been independently tested and verified by the EPA.
BioShieldUV™'s ozone output measures at 0.014 ppm, well below every relevant safety standard.


Find Your Perfect Fit, Hassle-Free
Compare HVAC integration versus direct plug-in to match your unique needs.
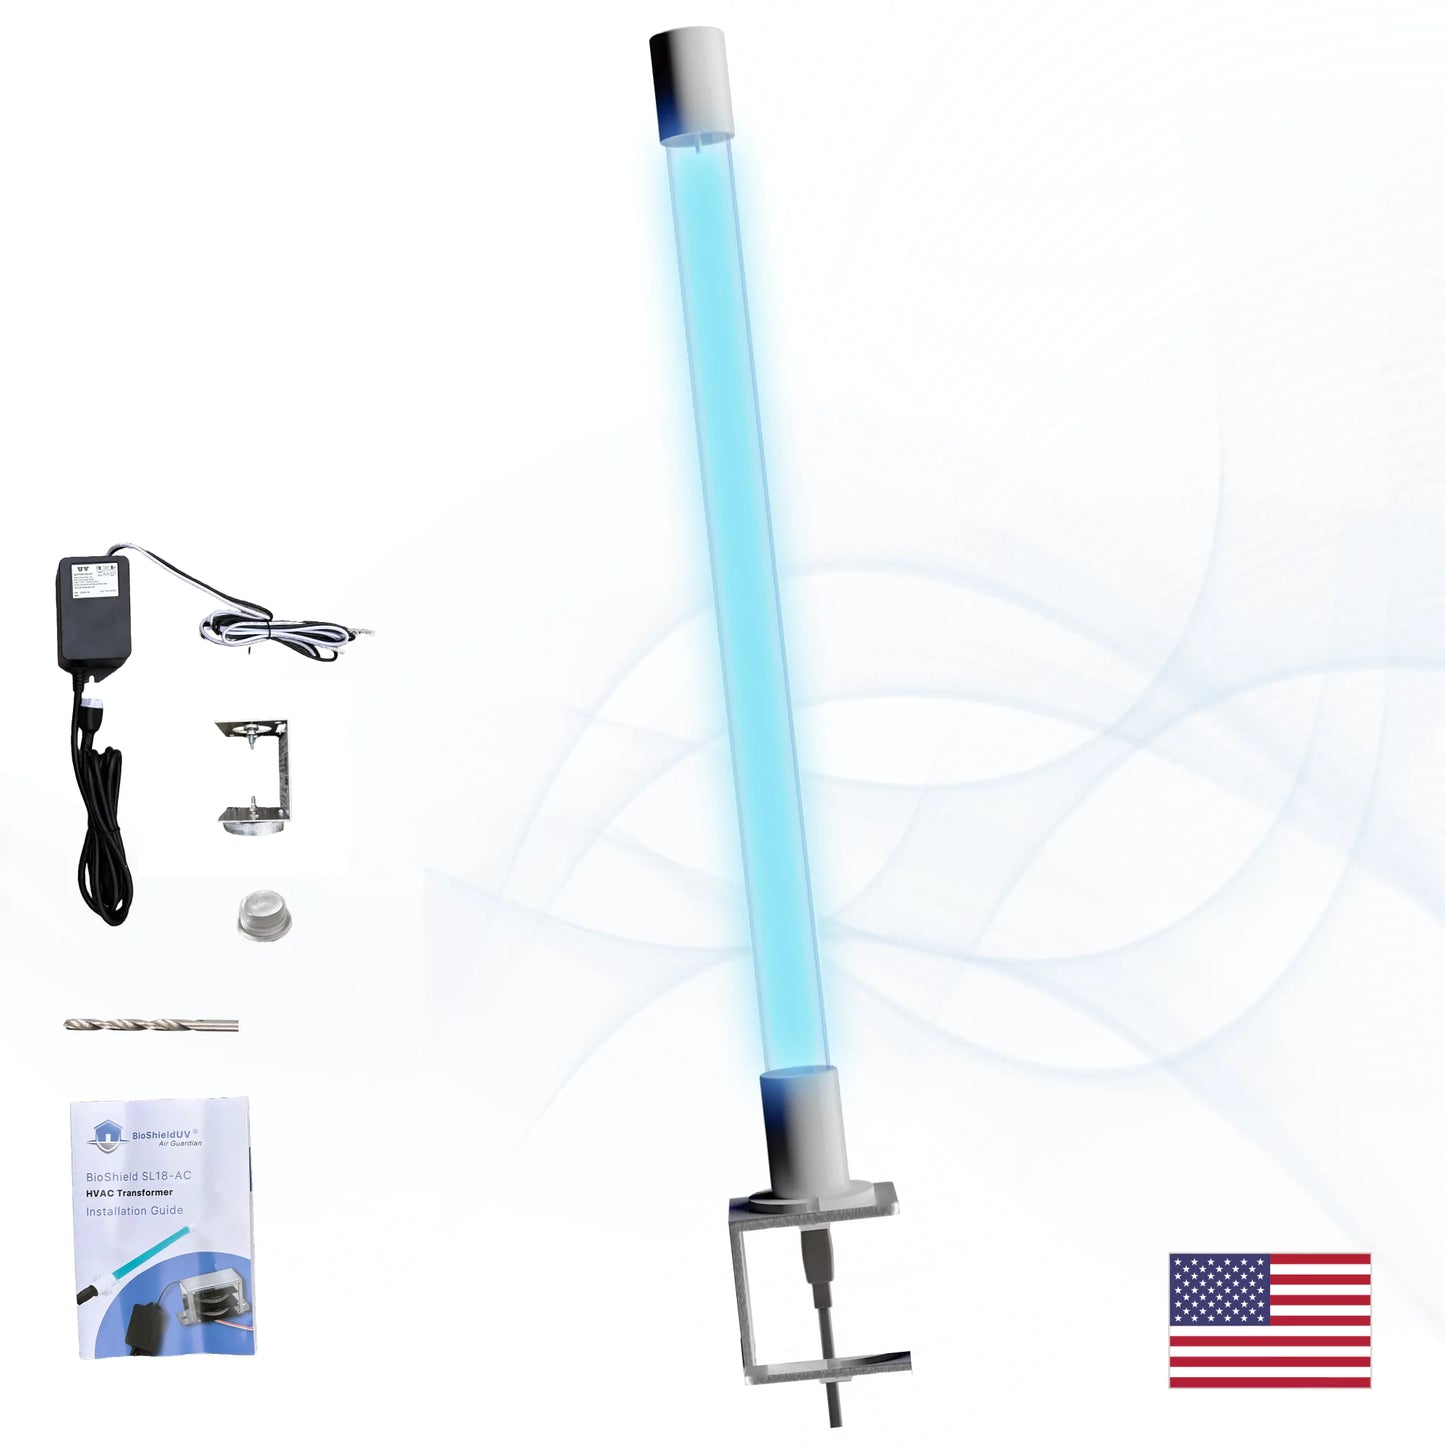
Features

Wall Adaptor

HVAC 24v AC Ballast
Installation
Easy & DIY-friendly – plug & play
Cleanest installation – but requires wiring to HVAC ballast
Power Source
Wall Adaptor – ensure there’s a wall socket nearby
Directly powered by HVAC (no support provided for wiring)
Setup Time
10 mins (approximately)
10-45 mins
Special Features
Bulb Working Indicator present on unit
View Port & Drill Bit included (optional install)

Backed by 90 day Clean Coil Promise™
 Day 0
Day 90
Day 0
Day 90
Your BioShieldUV™ purchase is completely risk free.
BioShieldUV™ backs every purchase with the 90-Day Clean Coil Promise™. If there is no visible improvement after 90 days, you get:
- A full refund on your purchase price and shipping costs
- The unit is yours to keep (no return required)
We are the only UV-C company in the industry that offers this.
How It Works
 Step 1
Take a photo of your evaporator coil and email it to support@bioshielduv.com within 14 days of installation.
 Step 2
Between Day 80 and Day 100, photograph your coil from the same angle and send it to support@bioshielduv.com
 Step 3
If there is no visible improvement, we process your full refund within 10 business days and the unit is yours to keep.
How the Leading Brands Compare
| Price | DIY Install | Safety Certified | Lifetime Warranty | Annual Bulb Cost | |
|---|---|---|---|---|---|
| BioShieldUV™ | $44 – $54 |  |
|
~$20 (with Guardian Club) | |
| Fresh-Aire UV | $207 – $1,122 | $48 – $57 | |||
| RGF REME HALO | $439 – $798 | $53 – $96 | |||
| Honeywell AirBRIGHT 6 | ~$534 | ~$93 | |||
| Carrier UVCAP | ~$603 | Unknown | |||
| OdorStop | $200 – $225 |  |
$25 – $40 | ||
| VEVOR | $34 – $58 | |
Unknown | ||
| Coospider | $40 – $60 | |
$15 – $30 |
Some brands do not publish replacement pricing publicly. Contact your brand directly to confirm ongoing bulb or cell costs before purchasing.
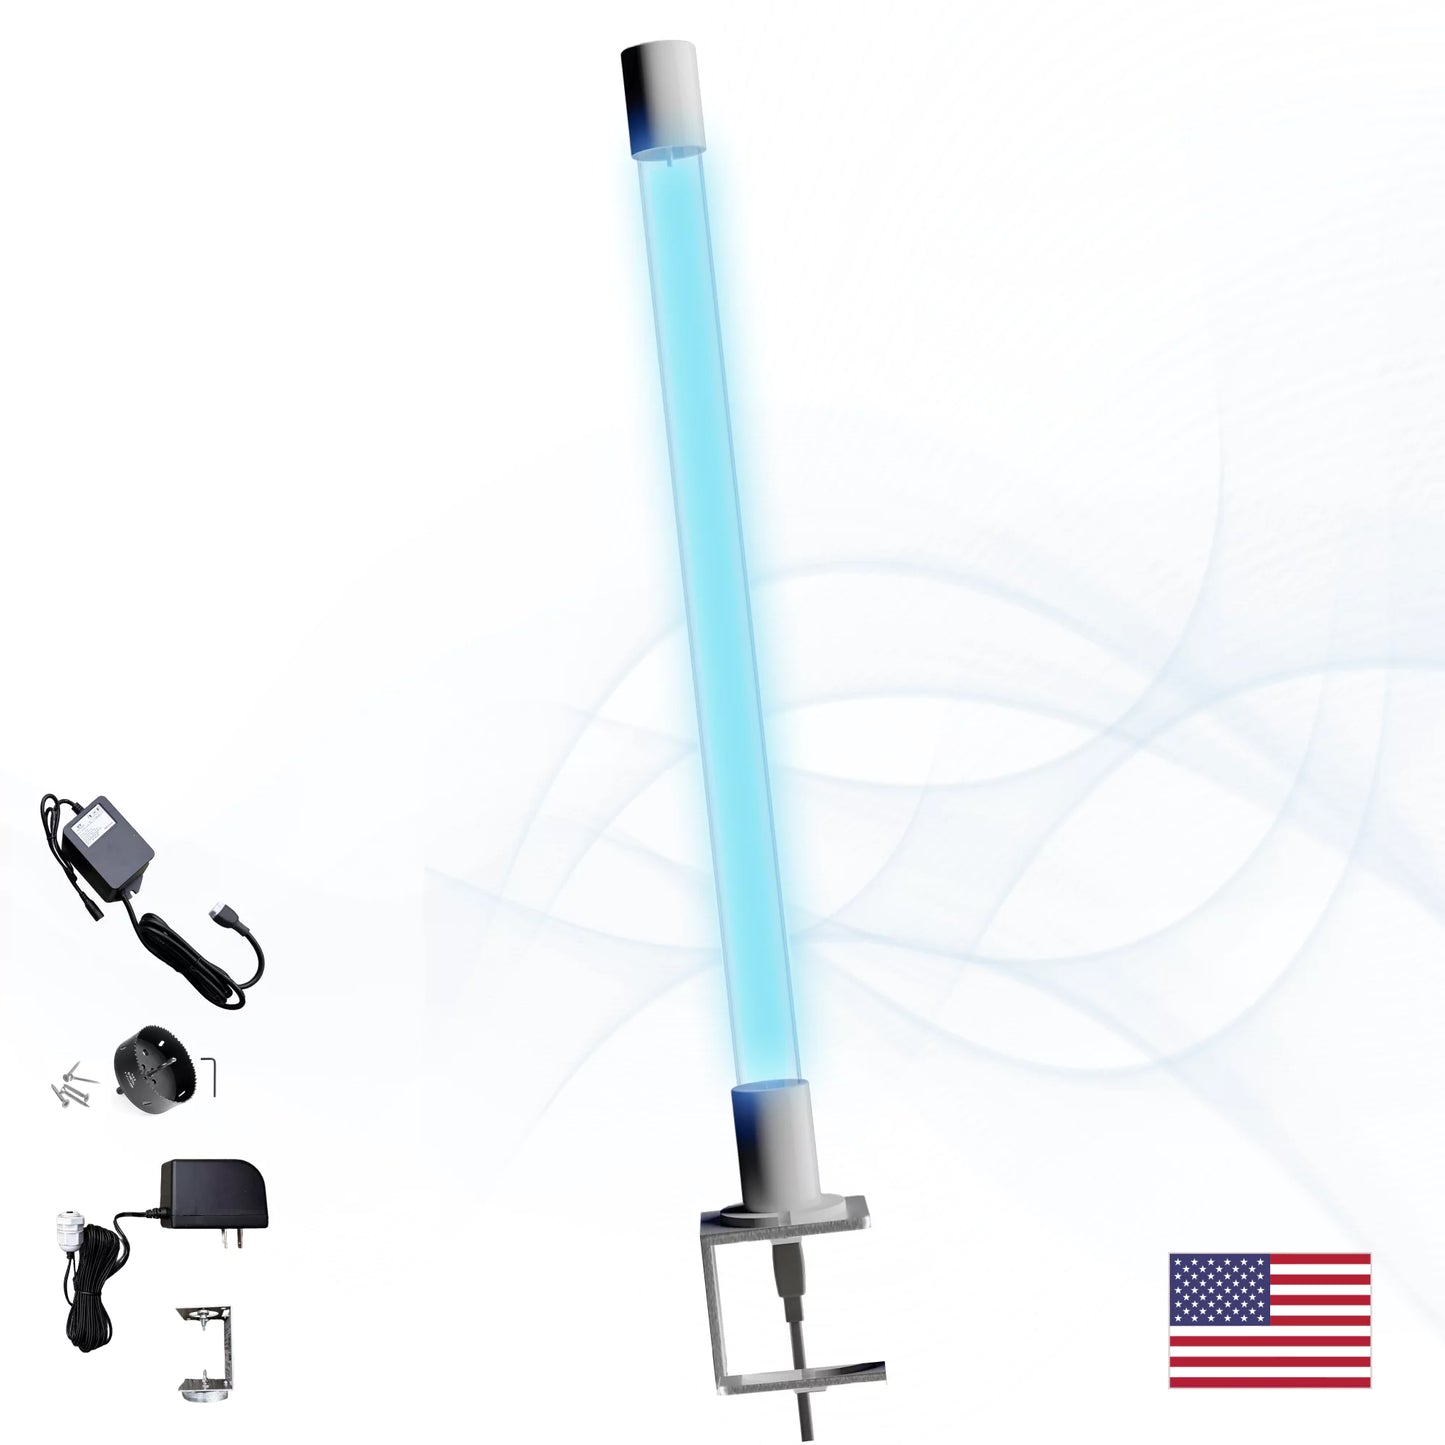
Shop BioShieldUV™ ProductsEasy Setup Guide

Average installation time: 15 minutes

1: Choose the Location
Select your ideal spot with access to the air duct. Make sure you have at least 14" of duct length for optimal performance.

2: Mount Your Unit
Clean the surface and place the magnetic mount. The strong magnetic base ensures a secure, stable fit.

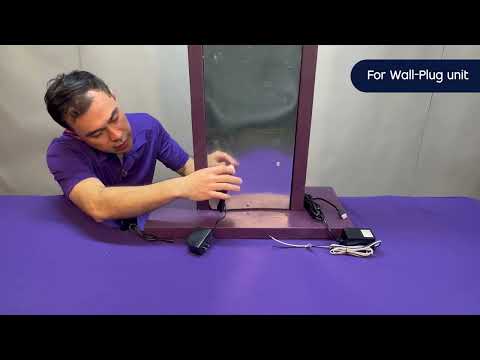
3: Power Your System
Wall Adaptor: Plug the 120V adaptor into your wall outlet & attach to the BioShield unit on other end.
HVAC integration: Requires wired connection with your central air system’s HVAC ballast directly.

4: Power On
Turn on the unit and confirm the indicator light is illuminated, verifying proper operation and a secure magnetic hold.
 Detailed installation guide & template included in the kit
Backed by the Clean Coil Promise™ - guaranteed visible improvement in 90 days.
Never Miss a Replacement with Guardian Club
Guardian Club automatically ships you a replacement lamp every 10 months. Members receive 10% off replacement bulbs, automatic warranty coverage, and hassle-free delivery every cycle.
All replacement bulbs include a 14-day warranty from the date of delivery. Guardian Club members receive extended coverage of up to 6 months from delivery.

How UV-C Works
Germicidal Protection
UV-C light at 253.7nm irradiates the coil surface 24 hours a day, disrupting microbial DNA and preventing biological growth from establishing.
Biofilm Eliminated
Dead biological matter washes away naturally with condensate during normal cooling cycles, restoring airflow and heat transfer progressively.
Efficiency Restored
With fouling removed, the coil transfers heat as designed, draws less energy, and maintains consistent airflow without intervention.
Real Verified Customer Reviews
- Choosing a selection results in a full page refresh.
- Opens in a new window.