


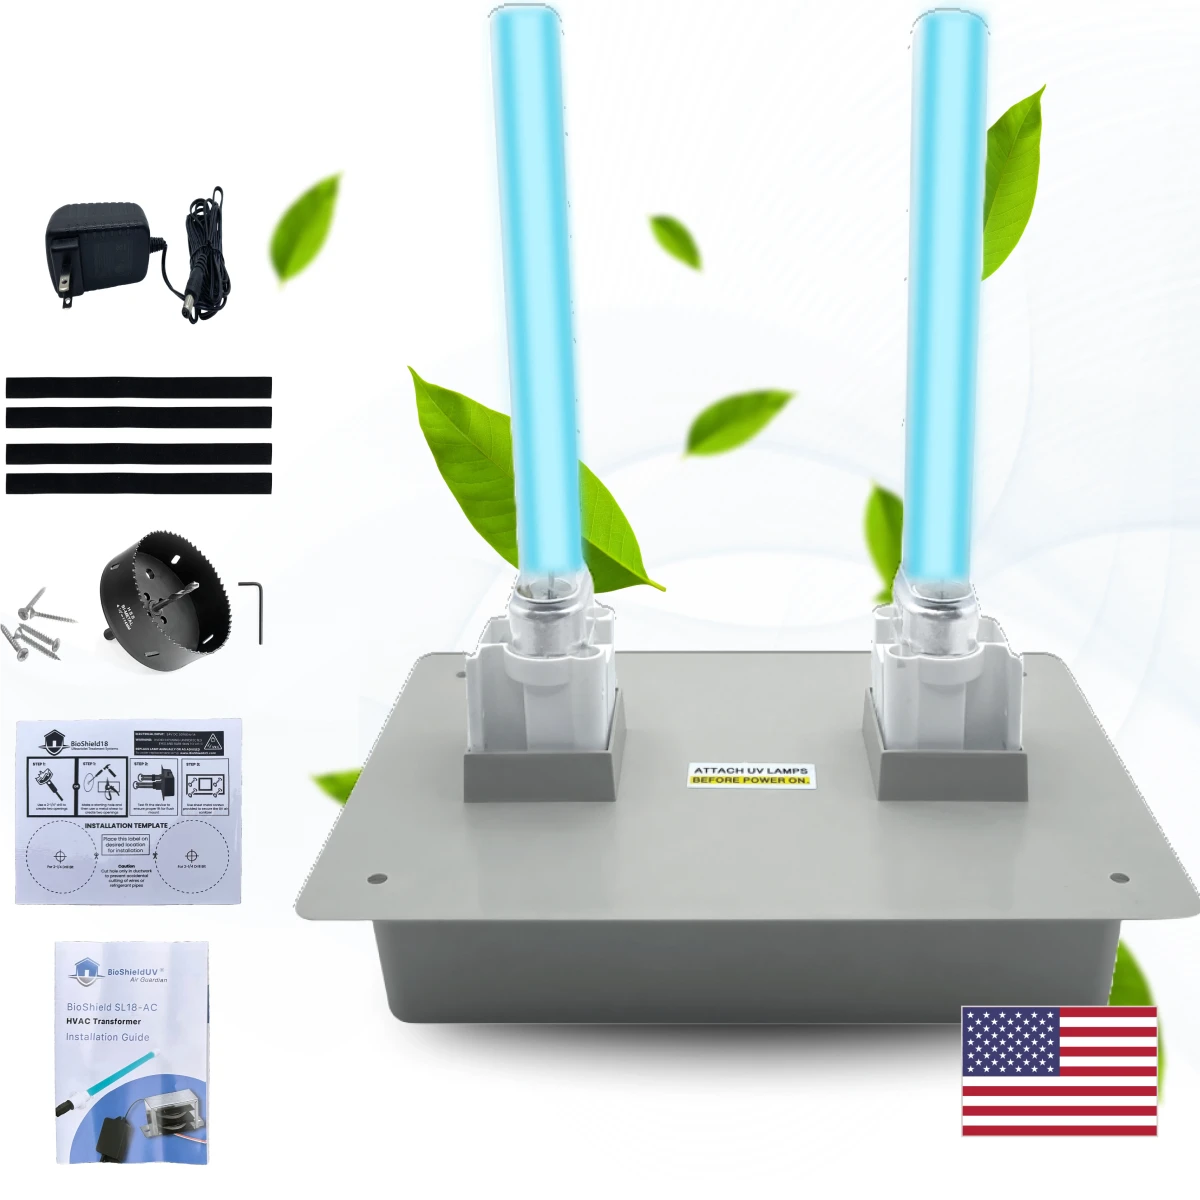
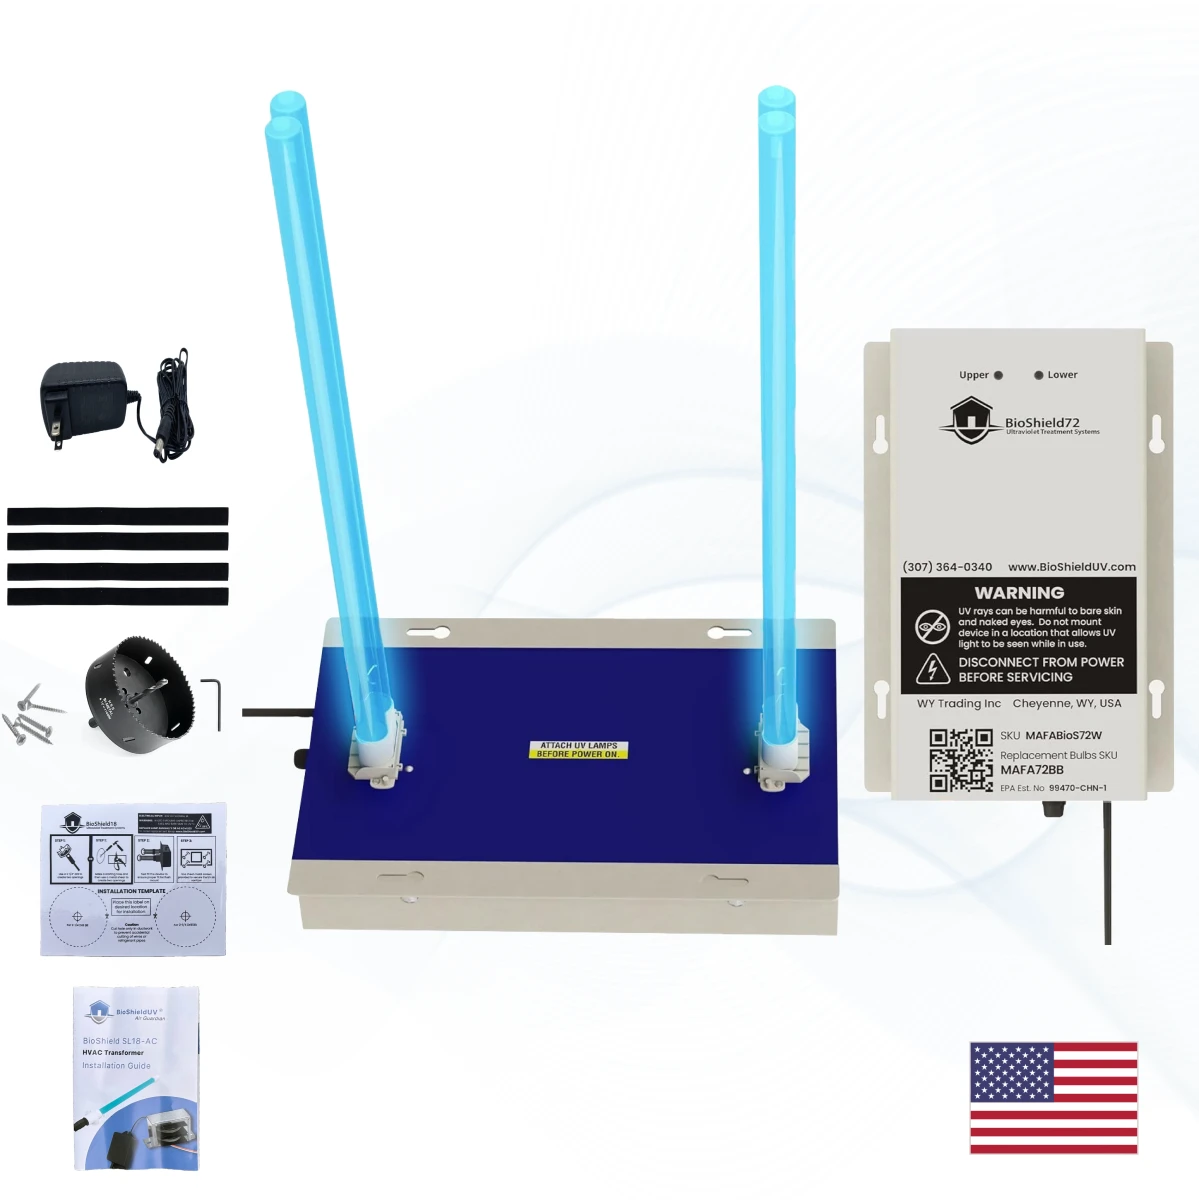
BioShield Classic
BioShield Classic
 Trusted by 10,000+ families nationwide
 Free shipping across the United States
 Lifetime Warranty* (with the Guardian Club only) Free Returns (Within 90 Days) Certified Safe by CE, ETL**, RoHS, & FCC
 *1-Year Warranty on BioShieldUV Devices without a Guardian Club membership.
Couldn't load pickup availability

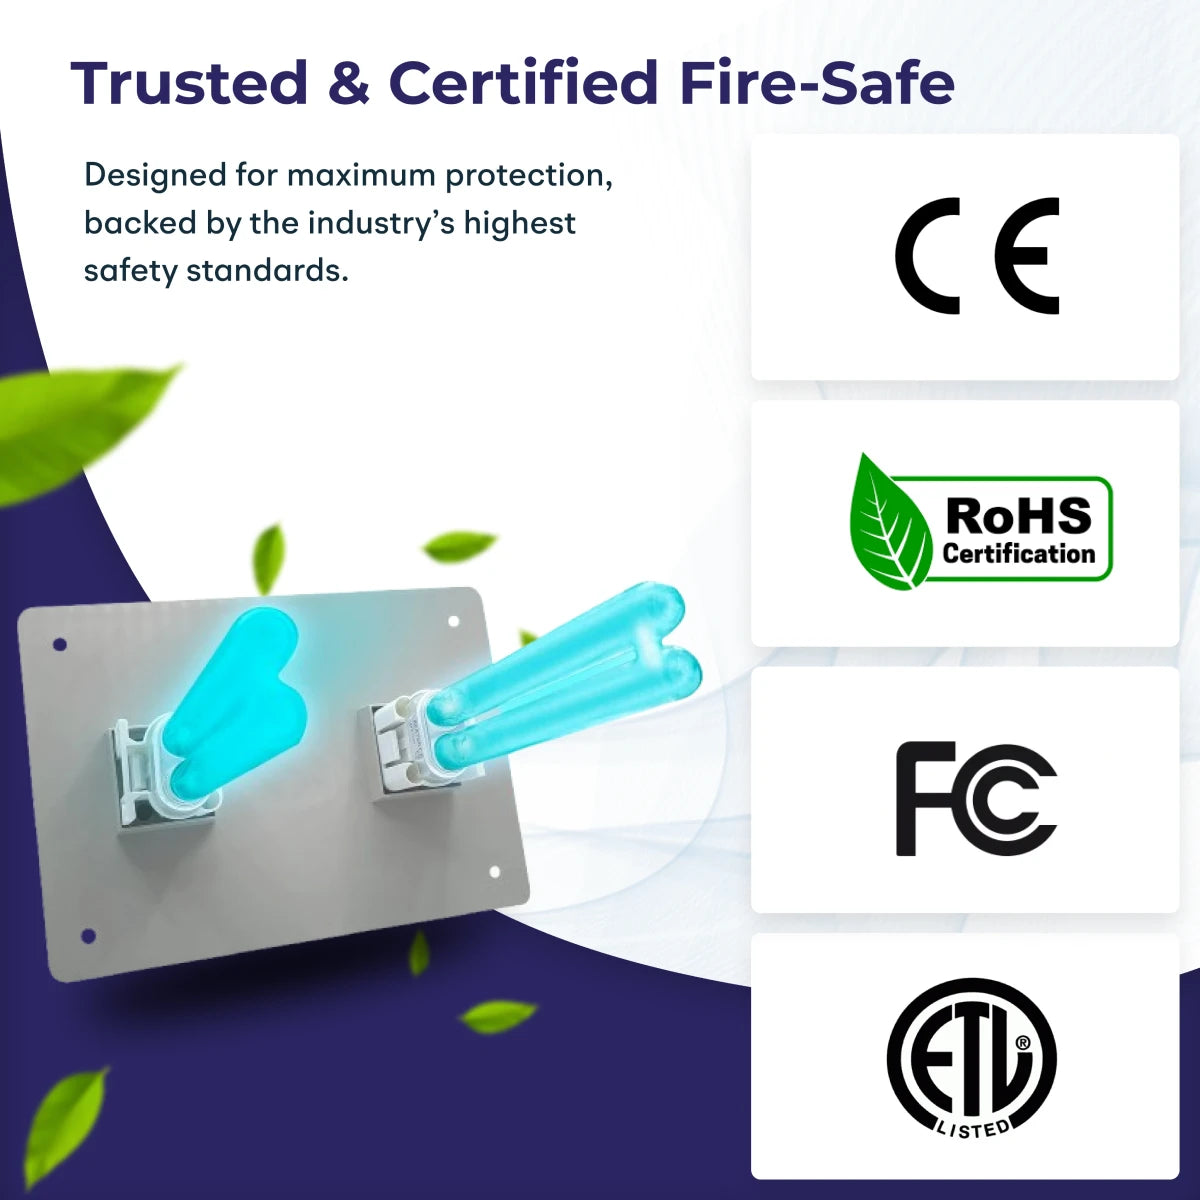
Certified by


Your Shield, Your Choice
All BioShield Classics deliver the same trusted protection, just scaled for different spaces. See how each model supports your unique needs.
Features

18W

36W

72W
Coverage Area
Up to 1,500 sq ft
Up to 3,000 sq ft
Up to 4,500 sq ft
UV Power
18W
36W
72W
Included Drill
53mm Drill Bonus: $20 Value 
53mm Drill Bonus: $20 Value
70mm Drill Bonus: $25 Value
Replacement Bulbs
2 × 9W Lamps -
2 × 18W Lamps -
2 × 36W Lamps -

Rated 4.6 by over 100,000 families
Effortless Safety for Every Space
BioShield’s advanced UV technology is designed to blend seamlessly into your life while providing powerful, reliable protection.

True 253nm UV-C light
Uses 253nm UV-C light that prevents and reduces debris buildup from poor-quality air in homes & offices.

Zero Ozone Production
No ozone, no worries—just clean, breathable air you can trust for your family’s health.

Silent Guardian
Runs silently in your HVAC system, working 24/7 to keep your air clean without disrupting your day.

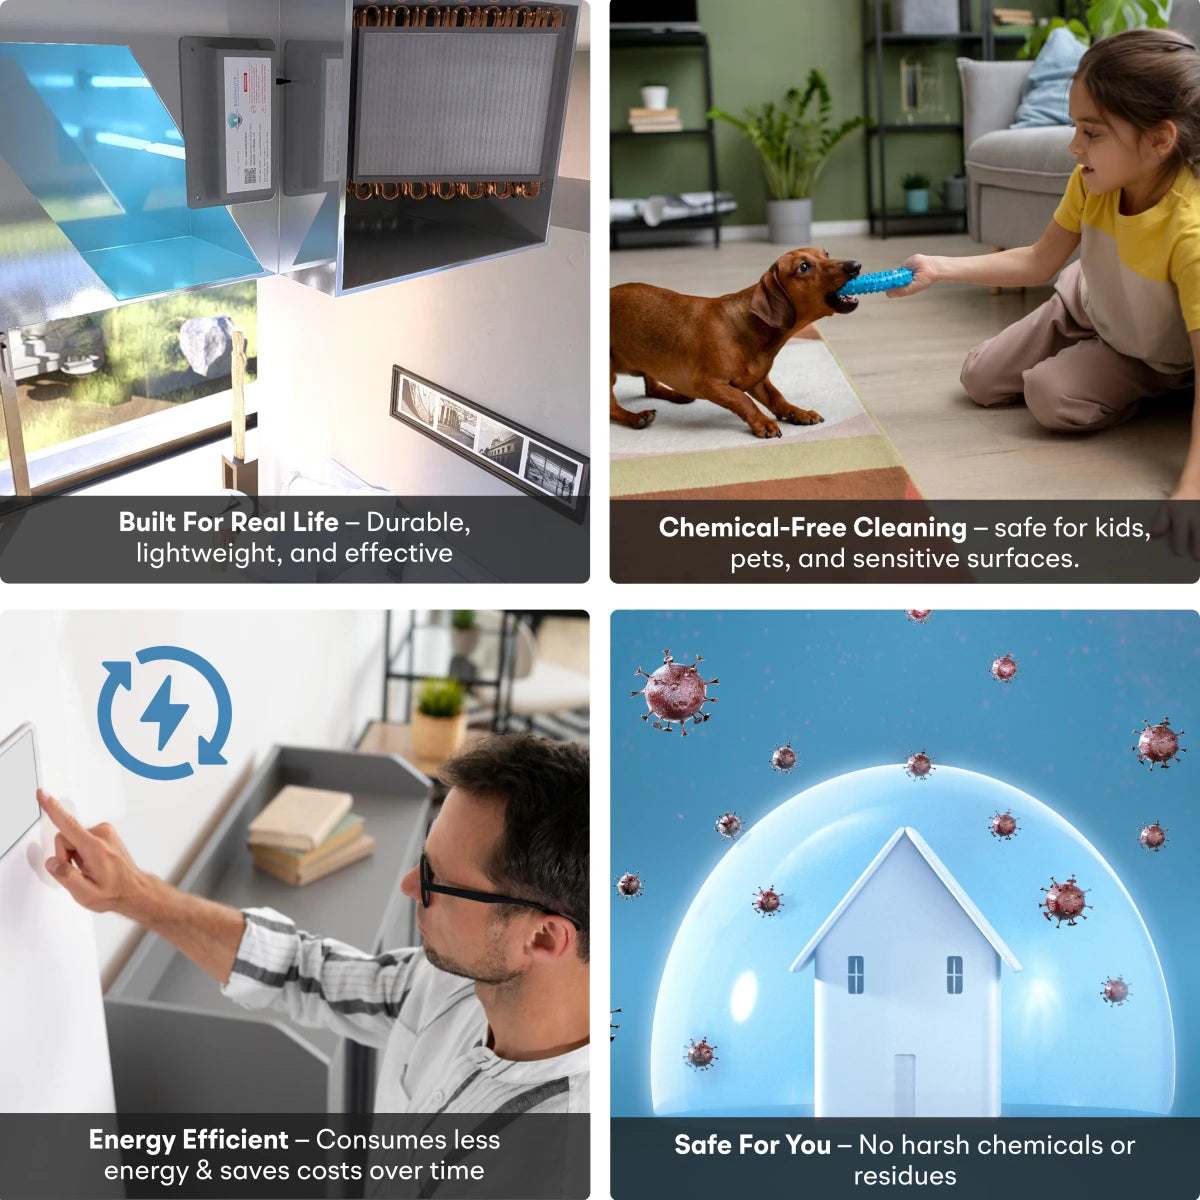
Energy Efficient
Designed to use energy wisely, delivering powerful results while keeping your utility bills in check.
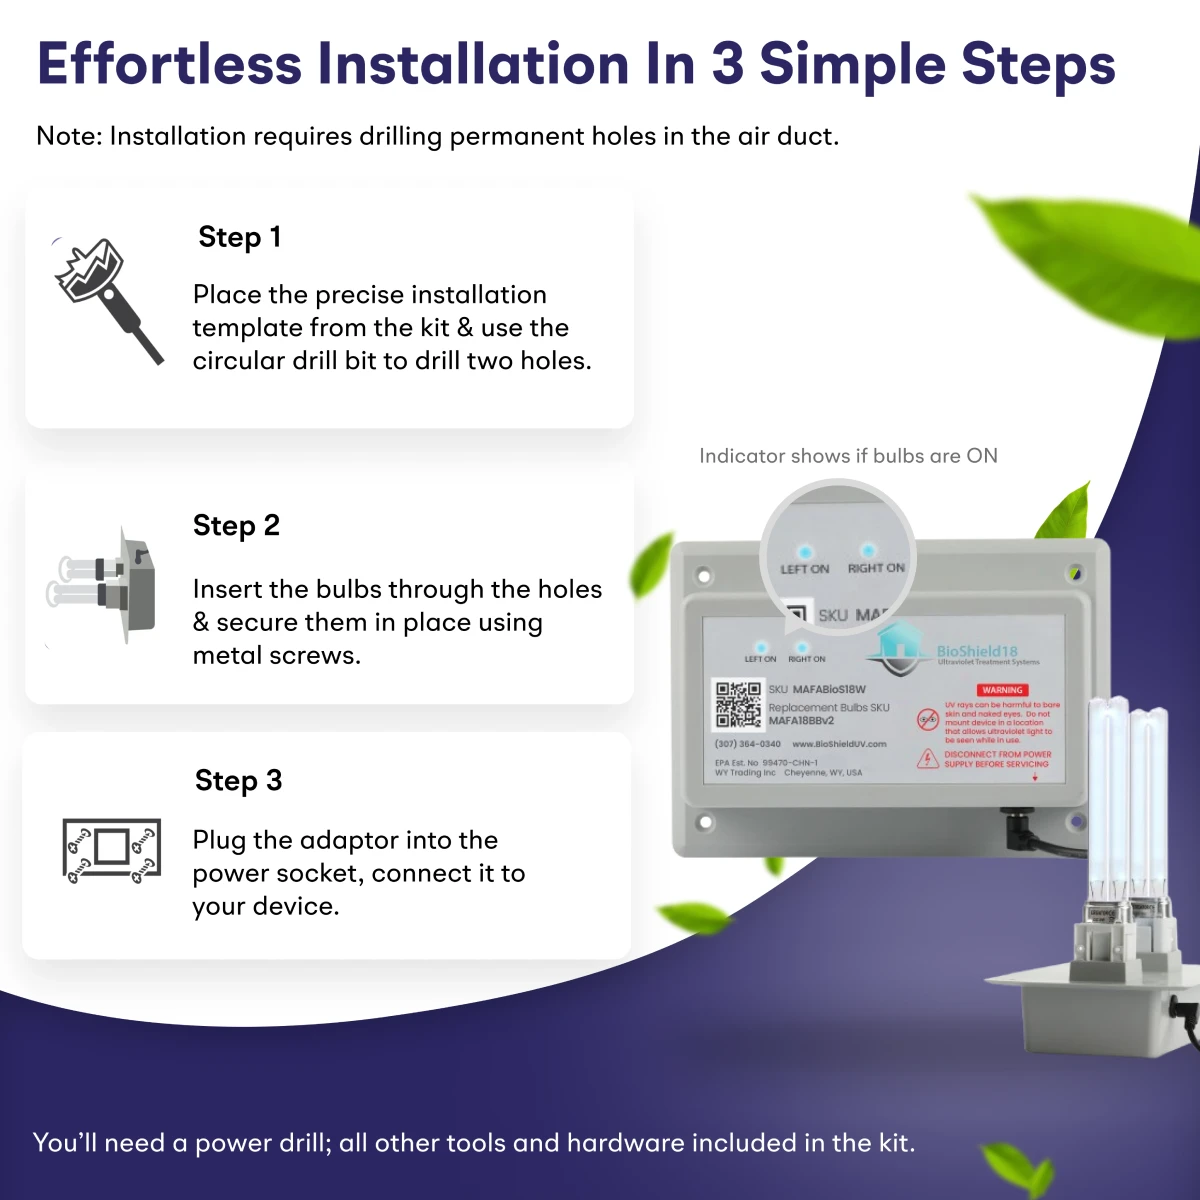
Safer Air, Simplified for You

Average installation time: 15 minutes

Step 1: Prepare the Surface
Place the installation template on the desired surface (wall, ceiling, or HVAC panel) and secure it with painter’s tape. Drill two holes using the circular drill bit specified in the manual.

Step 2: Insert the Bulbs
Carefully insert the UV bulbs into the drilled holes, ensuring they are aligned and fit snugly without applying force.

Step 3: Secure the Assembly
Attach the metal bracket over the bulbs and fasten it tightly with the provided screws to keep the assembly stable.

Step 4: Connect and Test
Connect the adapter to the bulb assembly, plug it into an AC socket, and verify the ON indicator light to ensure proper connection.
Minimize Bulb Replacement Costs with BioShield

2,500+ active members

Lifetime Warranty
Complete peace of mind with our comprehensive unit coverage.

Subscribe For Free
Get started with zero upfront cost - no membership fees

Automatic Bulb Replacement
New UV bulbs delivered every 10 months, right when you need them.
Real Verified Customer Reviews
- Choosing a selection results in a full page refresh.
- Opens in a new window.